How to Play the Yu-Gi-Oh! TCG
Your complete guide to the Yu-Gi-Oh! Trading Card Game — from understanding your first card to summoning your way to victory.
What You'll Need to Get Started
Yu-Gi-Oh! is one of those brilliant games where you can go from zero to duelling in about ten minutes. You don't need a mountain of accessories — just a deck and someone to play against.
- A Main Deck (40-60 cards) — this is your core deck that you draw from during the game. 40 cards is the sweet spot for consistency, but you can run up to 60 if you fancy living dangerously.
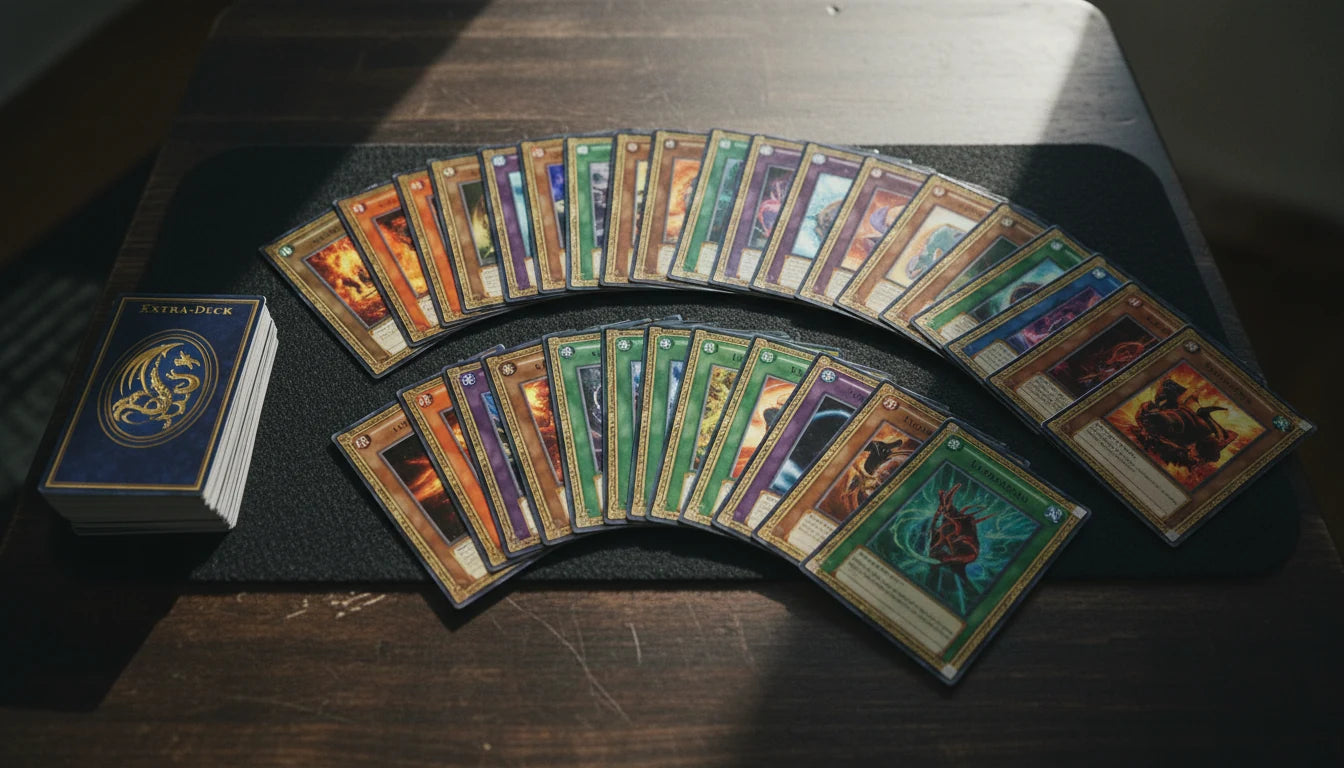
- An Extra Deck (up to 15 cards) — this sits face-down to the side and holds your Fusion, Synchro, Xyz, and Link Monsters. You don't draw from it — you summon from it using specific mechanics. Completely optional for beginners.
- A Side Deck (up to 15 cards) — used in tournament matches to swap cards between games. Don't worry about this until you're ready for competitive play.
- Something to track Life Points — a calculator, phone app, pen and paper, or an official LP counter. You'll start at 8000 LP each.
- A coin or die — for deciding who goes first and for any card effects that need a coin toss.
- An opponent — grab a friend, find a local tournament, or corrupt a family member into learning with you.
Pro Tip
Structure Decks are the easiest way to start. For under a tenner, you get a complete, ready-to-play deck built around a specific strategy. Buy two of the same one and you've got instant games for you and a mate.
Official Konami Rulebook
This guide will get you playing in minutes, but Konami publishes the full official rulebooks and guides for free on their website. If you ever want to look up an exact ruling or read about advanced mechanics, head to the official rulebook page:
The Three Card Types
Every card in Yu-Gi-Oh! falls into one of three main categories. The good news? You can tell them apart instantly by colour. No squinting required.
Monster Cards
Your fighters and defenders. Monsters have ATK and DEF values, and they're how you deal damage to your opponent's Life Points. They come in loads of varieties.
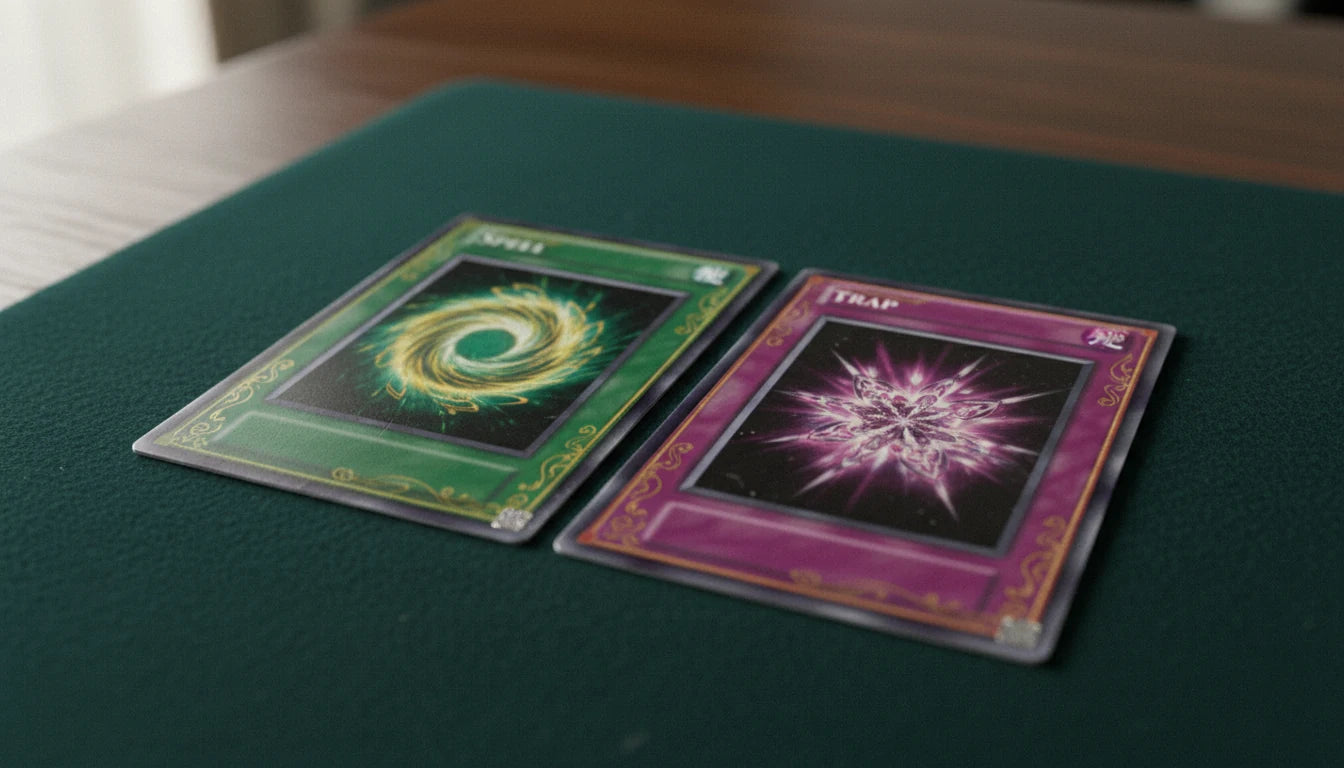
Spell Cards
Green-bordered cards that provide effects — destroying cards, boosting ATK, drawing cards, and loads more. Most are played from your hand during your Main Phase.
Trap Cards
Pink-bordered cards that you set face-down and spring on your opponent at the perfect moment. They need to be set for at least one turn before you can activate them.
The three card types: Monster (left), Spell (centre), and Trap (right)
Monster Card Varieties
This is where Yu-Gi-Oh! really shows its depth. Monster cards come in a whole range of types, each with different summoning requirements and abilities:
| Monster Type | Card Colour | Key Feature |
|---|---|---|
| Normal Monster | Yellow | No effects — just solid ATK/DEF stats and some lovely flavour text. |
| Effect Monster | Orange | Has a special ability that activates under certain conditions. |
| Ritual Monster | Blue | Summoned from your hand using a specific Ritual Spell Card. |
| Fusion Monster | Purple (Extra Deck) | Created by combining specific monsters, usually with Polymerization. |
| Synchro Monster | White (Extra Deck) | Summoned by sending a Tuner + non-Tuner(s) whose Levels add up. |
| Xyz Monster | Black (Extra Deck) | Summoned by overlaying 2+ monsters of the same Level. Uses Rank, not Level. |
| Pendulum Monster | Split green/colour | Can function as both a monster and a spell. Has a Pendulum Scale number. |
| Link Monster | Dark blue (Extra Deck) | Summoned using materials equal to its Link Rating. Has no DEF — only Link Arrows. |
Good to Know
Don't let the sheer number of monster types intimidate you. Most beginner decks only use Normal Monsters, Effect Monsters, and maybe one Extra Deck type. You'll naturally learn the others as you explore different strategies.
Reading a Monster Card
Yu-Gi-Oh! cards are packed with information, but once you know where to look, it all makes sense. Here's a breakdown of every part of a Monster card:
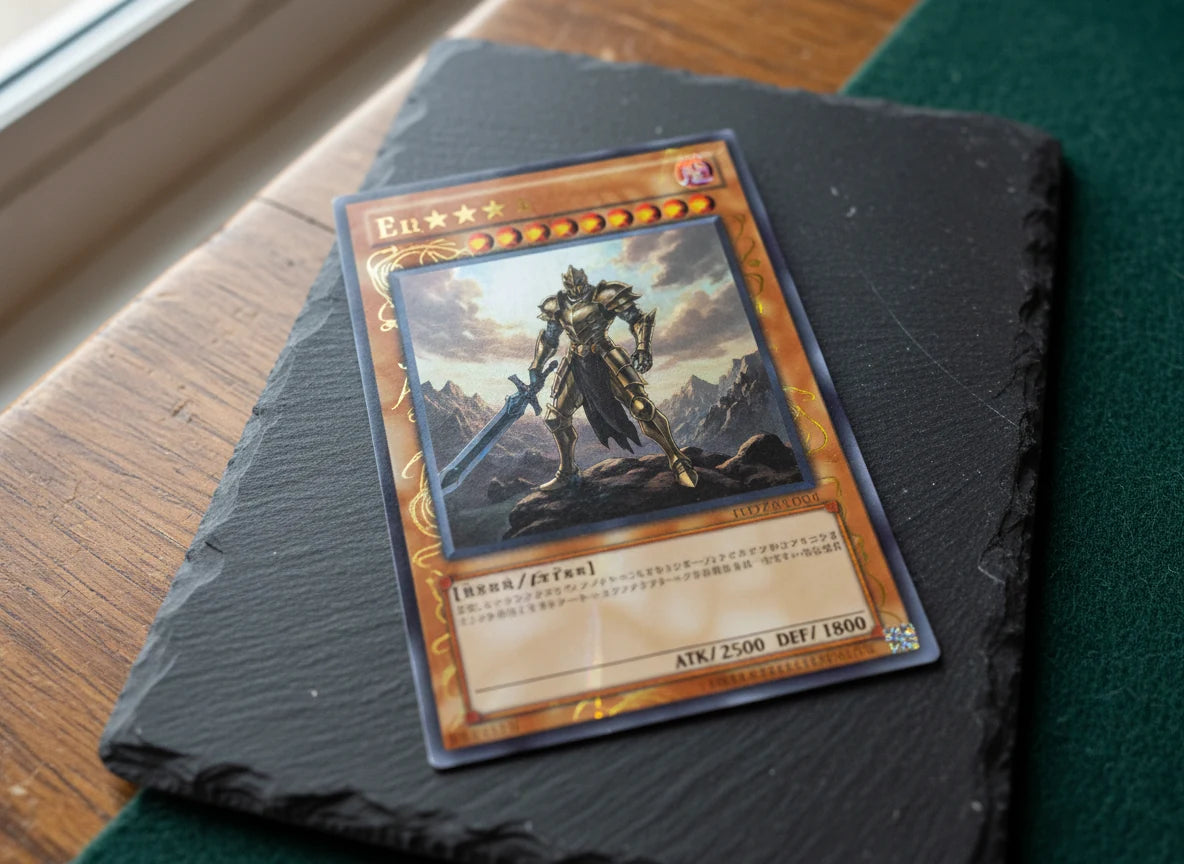
Anatomy of a Yu-Gi-Oh! Monster card — every section explained
- Card Name — top of the card. This is important because many effects reference cards by name.
- Attribute — the small icon in the top-right (DARK, LIGHT, EARTH, WATER, FIRE, WIND, or DIVINE). Some card effects interact with specific Attributes.
- Level / Rank — shown by the stars. Level is for most monsters (orange stars from right to left). Rank is for Xyz Monsters (black stars from left to right). Levels matter for Tribute Summoning and Synchro Summoning.
- Artwork — the centre of the card. Purely aesthetic, but let's be honest, it's half the reason we all got into this game.
- Type / Ability — listed in square brackets below the art, like [Warrior/Effect]. The first word is the monster's Type (Warrior, Dragon, Spellcaster, etc.) and the rest tells you what kind of monster it is.
- Card Text / Effect — the text box. For Effect Monsters, this describes what the monster does. For Normal Monsters, it's just flavour text.
- ATK (Attack) — bottom-left. This is the damage the monster deals when it attacks.
- DEF (Defence) — bottom-right. This is how much damage the monster can absorb when in Defence Position. Link Monsters don't have DEF.
Common Mistake
Don't confuse Level with Rank. Levels are orange stars that go right to left — Ranks are black stars that go left to right. This matters because cards that affect "Level" don't affect "Rank" and vice versa.
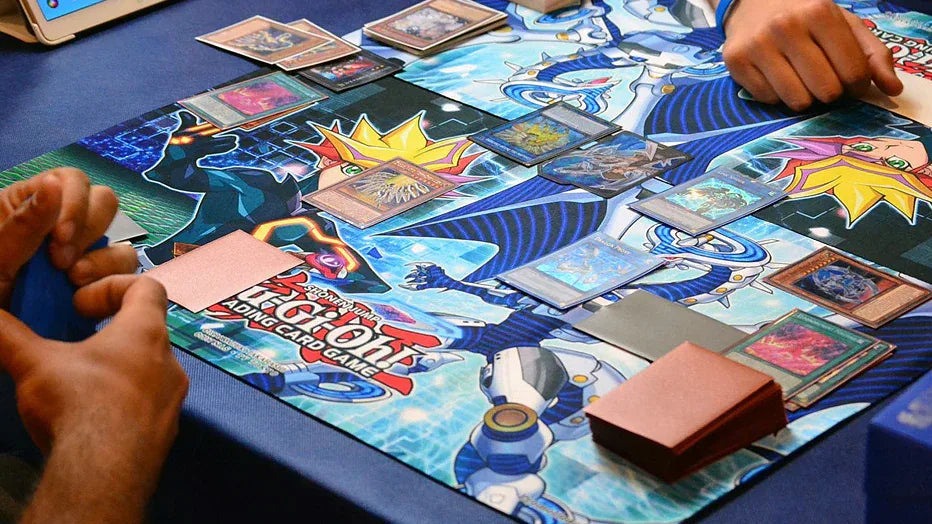
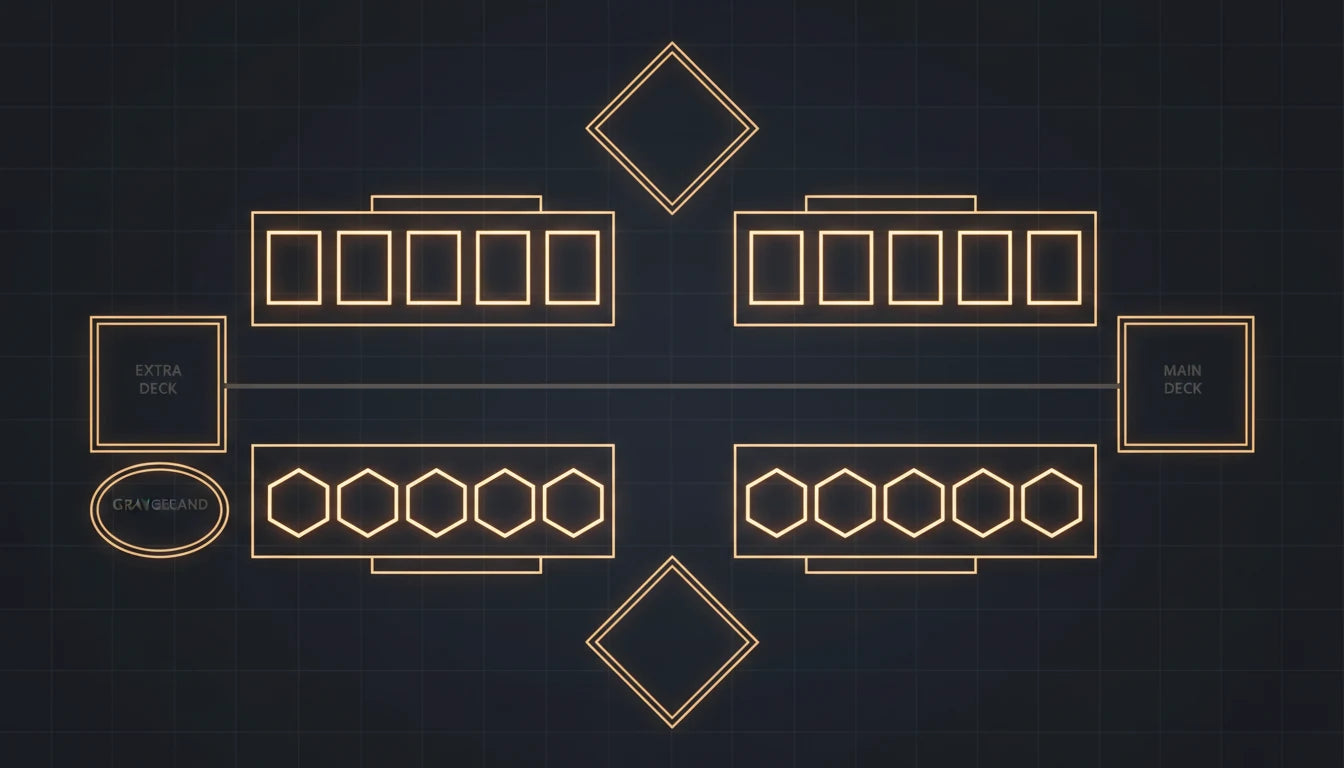
The Playing Field
The Yu-Gi-Oh! field has specific zones where different types of cards go. Knowing the layout is essential because card placement actually matters in this game — especially with Link Monsters and their arrows.
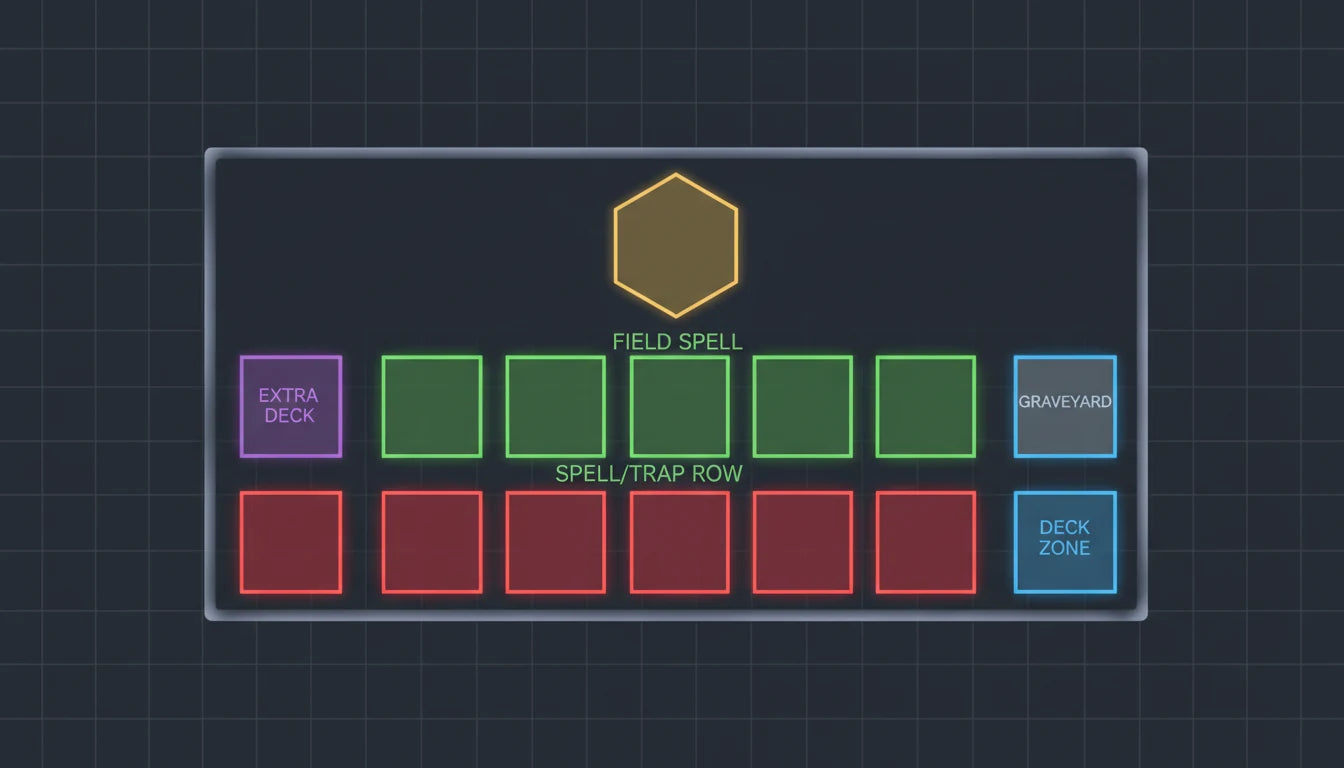
The playing field — where everything goes
- Main Monster Zones (5 slots) — where you place your monsters. You can have up to 5 monsters here at once.
- Extra Monster Zones (2 slots, shared) — the two zones in the centre between both players. When you summon a monster from your Extra Deck, it typically goes here first (unless a Link Monster's arrow points to a Main Monster Zone).
- Spell & Trap Zones (5 slots) — where you place your Spell and Trap cards. You can set Traps face-down here or activate Spells.
- Field Zone (1 per player) — a special slot for Field Spell Cards. Both players can have a Field Spell active at the same time.
- Graveyard (GY) — your discard pile. Cards sent here aren't gone forever — loads of effects can bring them back or interact with them.
- Banished Zone — cards that are "banished" are removed from the game entirely. Think of it as exile. Some cards can still retrieve banished cards, but it's harder.
- Deck Zone — where your Main Deck sits, face-down.
- Extra Deck Zone — where your Extra Deck sits, also face-down.
Pro Tip
You don't need an official playmat to get started — a flat surface works fine. But a mat makes it much easier to keep track of zones, especially when things get hectic mid-duel. They're also just really nice to play on.
Setting Up the Game
Getting a duel started is quick and painless. Once you've done it a couple of times, it'll take you less than a minute.
Shuffle Your Deck
Both players thoroughly shuffle their Main Deck and place it face-down in their Deck Zone. Place your Extra Deck face-down in its zone too.
Decide Who Goes First
Flip a coin, roll a die, or use whatever method you like. The winner chooses whether to go first or second. Going first means you can't attack on your opening turn, but you get to set up first. Going second means you draw an extra card and can attack straight away.
Draw 5 Cards
Both players draw 5 cards from the top of their deck. This is your opening hand. Keep it secret — no peeking at your opponent's cards.
Set Life Points to 8000
Each player starts with 8000 Life Points. Get your calculator or LP tracker ready. When one player's LP hits 0, the duel is over.
Start Duelling!
The first player begins their turn. Remember — the turn one player does NOT draw a card at the start of their first turn and cannot enter the Battle Phase. From the second turn onwards, everything is fair game.
Ready to duel — the starting layout
Good to Know
In tournament play, matches are best-of-three. You can swap cards from your Side Deck between games. For casual play though, single games are perfectly fine — and faster.
Turn Phases — What Happens Each Turn
A Yu-Gi-Oh! turn is broken into six phases. They always happen in the same order, and knowing when to do what is a massive part of playing well. Here's the flow:

The six turn phases — draw, standby, main, battle, main again, end
1. Draw Phase
Draw one card from the top of your deck. That's it — nice and simple. If you can't draw because your deck is empty, you lose the game immediately. The very first player on the very first turn of the game skips this phase.
2. Standby Phase
Most of the time, nothing happens here. But certain card effects trigger during the Standby Phase — things like maintenance costs on Continuous Spells or monster effects that activate each turn. If none of your cards mention it, just move on.
3. Main Phase 1
This is where most of the action happens. During Main Phase 1, you can:
- Normal Summon or Set a monster — one per turn unless a card says otherwise.
- Special Summon monsters — as many times as you can, using card effects or summoning mechanics.
- Activate Spell Cards — play them from your hand or flip face-up ones you've set.
- Set Spell or Trap Cards — place them face-down in your Spell & Trap Zone.
- Change monster positions — switch a monster from Attack to Defence Position or vice versa (once per monster per turn, and not on the turn it was summoned).
- Activate monster effects — if an effect can be used during the Main Phase, now's the time.
4. Battle Phase
This is where monsters clash. The Battle Phase is optional — you don't have to attack if you don't want to. The first player on the first turn of the game cannot enter the Battle Phase at all. We'll cover battle mechanics in detail in the next section.
5. Main Phase 2
After battling, you get another Main Phase. Everything you could do in Main Phase 1, you can do here — summon more monsters, activate Spells, set Traps. This is your chance to set up defences before passing the turn.
6. End Phase
Declare that your turn is ending. Some card effects resolve here, and if you have more than 6 cards in your hand, you'll need to discard down to 6. Then it's your opponent's turn.
Common Mistake
New players often forget about Main Phase 2. After your Battle Phase, you still get to summon, set, and activate cards. This is the perfect time to set Trap Cards or summon a monster in Defence Position to protect yourself.
Summoning Monsters
Summoning is the heart and soul of Yu-Gi-Oh!. How you get monsters onto the field determines your entire strategy. There are two broad categories: Normal Summons and Special Summons.
The many ways to summon monsters in Yu-Gi-Oh!
Normal Summon
Your bread-and-butter summon. Once per turn, you can Normal Summon a monster from your hand in face-up Attack Position. Monsters of Level 4 or below can be summoned straight away — no cost, no fuss.
Tribute Summoning
Bigger monsters require a sacrifice. To Normal Summon a monster of Level 5 or 6, you must send (tribute) one monster you control to the Graveyard first. For Level 7 and above, you need to tribute two monsters. A Tribute Summon still counts as your Normal Summon for the turn.
| Monster Level | Tributes Required | Example |
|---|---|---|
| Level 1-4 | None | Just play it from your hand |
| Level 5-6 | 1 Tribute | Send 1 monster you control to the GY |
| Level 7+ | 2 Tributes | Send 2 monsters you control to the GY |
Setting a Monster
Instead of Normal Summoning in Attack Position, you can Set a monster face-down in Defence Position. This uses your Normal Summon for the turn. Face-down monsters are mysterious — your opponent doesn't know what they are until they're flipped. Levels 5+ still need tributes to Set.
Special Summoning
Special Summons are where things get exciting. Unlike Normal Summons, there's no limit to how many Special Summons you can perform per turn. They come from card effects, monster abilities, or specific summoning mechanics:
- Fusion Summon — use a card like Polymerization to combine specific monsters (from your hand or field) into a Fusion Monster from your Extra Deck.
- Synchro Summon — send a Tuner monster and one or more non-Tuner monsters from your field to the Graveyard, whose total Levels equal the Synchro Monster's Level.
- Xyz Summon — stack two or more monsters with the same Level on the field, and place an Xyz Monster from your Extra Deck on top. The stacked monsters become Overlay Units (materials) attached to it.
- Pendulum Summon — with Pendulum Monsters in both Pendulum Zones, you can summon multiple monsters at once whose Levels fall between the two Pendulum Scales.
- Link Summon — send face-up monsters from your field to the Graveyard as materials. The number of monsters must equal the Link Monster's Link Rating.
Pro Tip
As a beginner, focus on Normal Summons and maybe one type of Special Summon that your deck uses. Trying to learn all the summoning mechanics at once is a fast track to a headache. Pick a Structure Deck, learn its specific mechanic, and branch out from there.
Battle Mechanics
The Battle Phase is where your monsters earn their keep. Understanding how combat works is crucial — one miscalculation can cost you the duel.
Battle — where ATK and DEF values really matter
Attacking an Attack Position Monster
When your monster attacks an opponent's monster in Attack Position, compare the ATK values:
- Your ATK is higher — the opponent's monster is destroyed and sent to the Graveyard. Your opponent takes damage equal to the difference in ATK.
- ATK values are equal — both monsters are destroyed. Neither player takes damage.
- Your ATK is lower — your monster is destroyed and you take damage equal to the difference. Painful.
Attacking a Defence Position Monster
When you attack a Defence Position monster, your ATK is compared to the defender's DEF:
- Your ATK is higher than their DEF — the defending monster is destroyed. But here's the thing — no battle damage is dealt to your opponent's Life Points.
- Your ATK equals their DEF — nothing happens. Neither monster is destroyed. It's a stalemate.
- Your ATK is lower than their DEF — the defending monster stays put and you take damage equal to the difference between their DEF and your ATK. Your monster stays on the field though.
Direct Attacks
If your opponent has no monsters on the field, your monsters can attack their Life Points directly. The full ATK value of your attacking monster is dealt as damage. This is often how games get closed out — clear the field, then go for the knockout.
Common Mistake
When you attack a Defence Position monster and your ATK is higher, your opponent does NOT take damage. Only direct attacks and ATK vs ATK battles deal damage to Life Points. This trips up loads of new players.
Good to Know
Each monster can only attack once per Battle Phase (unless a card effect says otherwise). You can attack with as many different monsters as you have on the field, but each one only gets one shot per turn.
Spell & Trap Cards in Detail
Monsters might do the fighting, but Spells and Traps win games. Understanding the different sub-types and when to use them gives you a massive edge.
Spell types (top) and Trap types (bottom) — know your options
Spell Card Types
| Spell Type | Icon | How It Works |
|---|---|---|
| Normal Spell | None (blank) | Activate it during your Main Phase, resolve the effect, then send it to the Graveyard. |
| Continuous Spell | Infinity symbol | Stays on the field after activation. Its effect remains active until it's destroyed or removed. |
| Quick-Play Spell | Lightning bolt | The only Spell you can activate during either player's turn. Can also be set and used like a Trap. |
| Equip Spell | Cross/plus | Attaches to a monster on the field and grants it a bonus (or a penalty to an opponent's monster). |
| Field Spell | Compass rose | Placed in the Field Zone. Affects the whole field — both players, typically. Each player can have one. |
| Ritual Spell | Flame | Used specifically to Ritual Summon a Ritual Monster from your hand. Requires tributing monsters whose Levels equal or exceed the Ritual Monster's Level. |
Trap Card Types
| Trap Type | Icon | How It Works |
|---|---|---|
| Normal Trap | None (blank) | Set it face-down, wait a turn, then activate it when the conditions are met. Goes to the GY after use. |
| Continuous Trap | Infinity symbol | Like a Continuous Spell but set face-down first. Stays on the field after activation. |
| Counter Trap | Arrow symbol | The fastest type of card in the game. Only another Counter Trap can respond to a Counter Trap in a chain. |
Common Mistake
You cannot activate a Trap Card on the same turn you set it. It must survive at least until your opponent's turn before you can flip it. Quick-Play Spells have the same restriction when set face-down.
The Chain Mechanic
Chains are one of the things that make Yu-Gi-Oh! so strategically deep. When a card effect is activated, the other player (or even the same player) can respond with another effect, building a chain. The chain then resolves backwards — the last card activated resolves first.
Here's a simple example. Your opponent summons a powerful monster. You activate your Trap Card to destroy it — that's Chain Link 1. Your opponent then chains a Quick-Play Spell to protect their monster — that's Chain Link 2. The chain resolves in reverse: the Quick-Play Spell resolves first (protecting the monster), then your Trap resolves (but the monster is now protected). Timing is everything.
| Chain Speed | Card Types | Can Respond To |
|---|---|---|
| Spell Speed 1 | Normal/Continuous/Equip/Field/Ritual Spells, monster effects | Cannot be chained to anything — only starts chains |
| Spell Speed 2 | Quick-Play Spells, Normal/Continuous Traps, Quick monster effects | Spell Speed 1 or 2 |
| Spell Speed 3 | Counter Traps only | Spell Speed 1, 2, or 3 |
Pro Tip
You don't need to master chains on day one. For your first few games, just remember: if your opponent activates something, you can usually respond with a Trap or Quick-Play Spell if you have one. The deeper chain mechanics will come naturally with practice.
How to Win the Game
There are three ways to win a duel in Yu-Gi-Oh!, and each one comes up in real games. Most duels end with the first method, but don't sleep on the others.
Reduce LP to 0
Deal enough battle damage and effect damage to bring your opponent's Life Points from 8000 down to zero. The most common way to win by a mile.
Deck Out
If a player must draw a card but has no cards left in their deck, they lose immediately. Some decks are specifically built around this strategy (called "mill" decks).
Special Win Conditions
Certain cards have alternative win conditions. The most famous is Exodia — if you hold all five pieces in your hand at any point, you win instantly. No arguments.
Good to Know
Some cards like "Final Countdown" and "Destiny Board" also have special win conditions, though they're less common in competitive play. Exodia remains the most iconic instant-win condition in the game.
Building Your First Deck
Once you've got the hang of duelling, building your own deck is where the real fun begins. Yu-Gi-Oh! deck building is incredibly flexible, but there are some solid principles to follow:
A solid deck — Main Deck, Extra Deck, and Side Deck ready to go
- Stick to 40 cards in the Main Deck — you can go up to 60, but 40 gives you the best chance of drawing the cards you need. Consistency is king in Yu-Gi-Oh!.
- Max 3 copies of any card — you can run up to 3 of any card (unless it's Limited or Semi-Limited on the Forbidden & Limited list). Running 3 copies of your key cards improves consistency.
- Pick a strategy and stick to it — Yu-Gi-Oh! decks are built around archetypes (groups of cards that work together). Choose one archetype and build around it rather than mixing random powerful cards.
- Include disruption — don't just focus on your own plays. Cards like hand traps (Ash Blossom, Effect Veiler) and Trap Cards help you stop your opponent from doing their thing.
- Balance monsters and non-monsters — a good starting ratio is roughly 20 monsters, 12-15 Spells, and 5-8 Traps, but this varies hugely by archetype.
- Don't ignore the Extra Deck — even if your deck doesn't heavily rely on it, having useful Xyz or Link Monsters available gives you options when your main plan doesn't come together.
Pro Tip
Start with a Structure Deck and upgrade it. Buy three copies of the same Structure Deck and you'll have playsets of the key cards, giving you a genuinely competitive deck for under £30. It's the most cost-effective way to build a strong deck.
Top Tips for New Players
Read Your Cards Properly
Yu-Gi-Oh! card text is extremely precise. Words like "when" vs "if", "target" vs "choose", and "destroy" vs "send to the Graveyard" all mean different things mechanically. Take your time reading effects — it'll save you from misplays.
Don't Overextend
It's tempting to dump your entire hand onto the field, but a single board wipe card like Dark Hole or Raigeki can destroy everything you've summoned. Keep some resources in reserve for when things go wrong — because they will.
Set Traps Before Ending Your Turn
Got Trap Cards in your hand at the end of your turn? Set them. They're doing absolutely nothing sitting in your hand, and they need a full turn of being face-down before you can use them.
Learn What Your Opponent's Deck Does
Half the battle is knowing what your opponent is trying to do. If you recognise their archetype, you'll know which combos to interrupt and which cards to watch out for. Experience is the best teacher here.
Use Main Phase 2
After battling, you get another Main Phase. Use it to set backrow, summon defensive monsters, or set up plays for next turn. Many beginners skip straight to the End Phase and miss out on valuable plays.
Life Points Are a Resource
Don't panic if you take damage early on. Your Life Points are a resource — the only point that matters is the last one. Sometimes taking a hit to maintain card advantage is absolutely the right call.
Frequently Asked Questions
Ready to Start Duelling?
Browse our range of Yu-Gi-Oh! TCG products — from Structure Decks to the latest booster packs.
Shop Yu-Gi-Oh! TCG